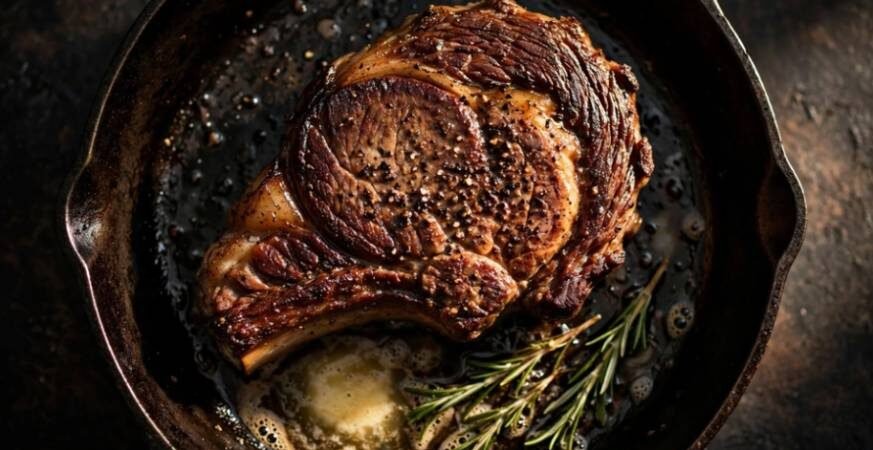
I ruined four steaks before I figured out why my crust never matched the ones at my favorite steakhouse. The fix wasn’t a fancier pan or a pricier cut. It was learning how to sear steak using three things most home cooks skip: bone-dry meat, screaming-hot oil, and a butter baste timed to the second.
This is the exact process I use every week, plus the mistakes that cost me a good crust before I got it right.
Why Most Home Sears Fail
Steam is the enemy of a crust. Any moisture left on the surface turns to steam the second meat hits the pan, and steam steams instead of sears. I learned this the hard way after pulling a steak straight from its packaging, wet with juices, and watching it turn gray instead of golden.
The fix is a dry brine: salt the steak and let it sit uncovered in the fridge, or on the counter for shorter windows, so the surface dries out before it ever touches oil.
Step-by-Step: How to Sear Steak
1. Dry Brine and Rest
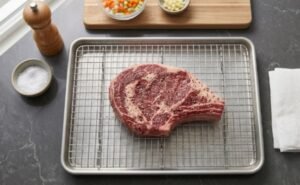
Pull the steak from the fridge 30 to 40 minutes before cooking. Pat it completely dry with paper towels, then salt and pepper every side generously. The salt draws out surface moisture, which then reabsorbs into the meat instead of hitting your pan.
2. Get the Pan Screaming Hot
Use cast iron or heavy stainless steel, never non-stick. Heat it over medium-high to high until it’s just short of smoking. A pan that isn’t hot enough won’t sear; it will simmer the steak in its own juices.
3. Choose the Right Oil
Add 1 to 2 tablespoons of a high-smoke-point oil, like avocado, canola, or grapeseed. Skip butter here entirely. Its milk solids scorch at searing temperatures and turn bitter before the crust forms.
4. Sear Without Touching It
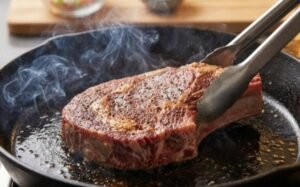
Lay the steak away from you to avoid oil splatter, and press it flat with tongs for full contact. Leave it alone for 3 to 4 minutes. Moving it too early is the single biggest reason home sears turn out patchy instead of deep brown.
5. Flip and Render the Fat Cap
Flip once. If the cut has a thick fat edge, like a New York strip, stand it on that edge for about a minute using tongs. This renders the fat and crisps it instead of leaving it chewy.
6. Baste With Butter, Garlic, and Herbs

Drop the heat to medium. Add 2 to 3 tablespoons of unsalted butter, smashed garlic cloves, and rosemary or thyme. Tilt the pan so butter pools on one side, then spoon it over the steak continuously for the final minute. This step is where the flavor compounds, not just the crust.
7. Rest Before You Cut
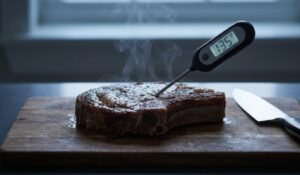
Pull the steak when it reads 5 degrees below your target temperature; carryover heat finishes the job. Rest it uncovered or loosely tented for 5 to 10 minutes on a wire rack, then slice against the grain. Skipping the rest is why a perfectly seared steak can still bleed out all its juice on the cutting board.
My Tested Finding: Time on the Rack Matters More Than Time in the Pan
After tracking a dozen steaks with a meat thermometer, I found the searing method mattered less than what happened after the pan. Steaks rested on a wire rack lost noticeably less juice on the cutting board than steaks rested flat on a plate, because trapped steam under the meat kept softening the crust I’d just built. If you take one thing from this article beyond the sear itself, make it the rack.
Once searing feels automatic, it’s worth studying basic cooking techniques that apply the same dry-heat logic to other proteins.
Reference Table: Searing Variables at a Glance
| Variable | Recommended Setting | Why It Matters |
| Pan type | Cast iron or stainless steel | Retains and distributes high heat evenly |
| Oil | Avocado, canola, grapeseed | High smoke point, won’t burn |
| Sear time (per side) | 3–4 minutes | Builds deep crust without overcooking |
| Pull temperature | 5°F below target | Accounts for carryover cooking |
| Rest time | 5–10 minutes | Redistributes juices before slicing |
Trusted Sources on Searing and Food Safety
| Source | What It Covers |
| KitchenAid | Stovetop searing and skillet heat guidance |
| USDA Food Safety | Safe internal temperatures for beef |
| Serious Eats | Science-based technique testing |
| r/AskCulinary | Community-tested searing tips |
Stop Guessing, Start Searing
A great crust isn’t luck. Dry the meat, trust the heat, and don’t touch the pan until it’s time. Reading more on how to cook better overall so every dish benefits, not just steak night.
Grab a thermometer for your next steak night and watch the difference a 5-degree pull temperature makes.
FAQ
1. How long should you sear a steak per side?
About 3 to 4 minutes per side over high heat, until a deep brown crust forms.
2. Should you sear steak in butter or oil?
Start with a high-smoke-point oil, then add butter at the end for basting.
3. Why isn’t my steak getting a crust?
The surface is likely too wet, or the pan isn’t hot enough before the steak goes in.
4. Do you need to rest a steak after searing?
Yes, rest it 5 to 10 minutes on a rack so the juices redistribute before slicing.